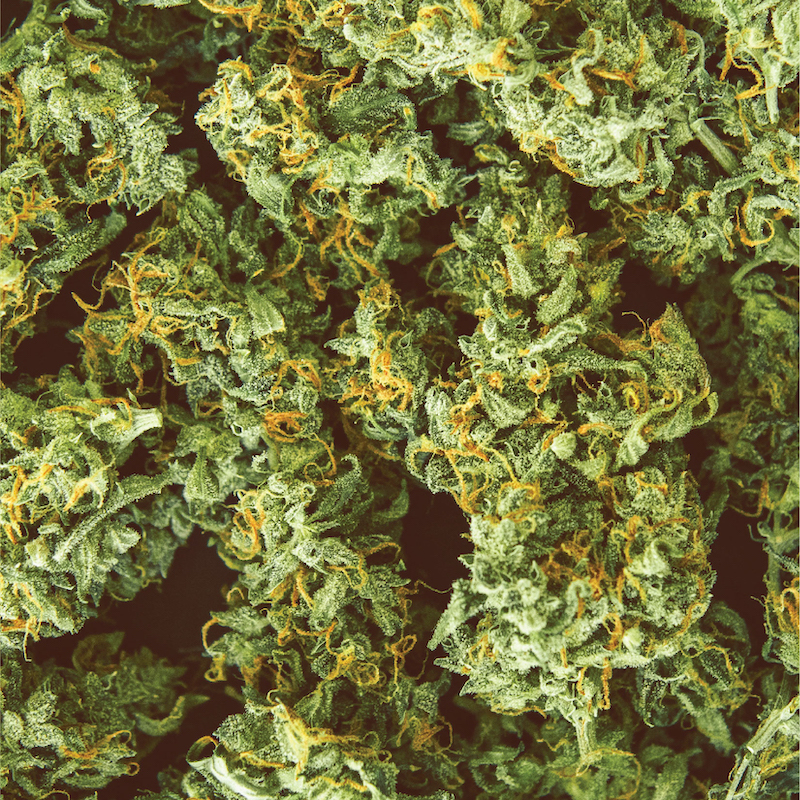
Drying and curing hemp has several benefits in producing quality buds, and depending on your environment, can range from being a simple process to one that is complex and time-consuming. Before we delve into the process, though, let us go over what drying and curing do because, while they both happen concurrently, drying and curing are not the same thing, and each provides different benefits.
Drying removes moisture to preserve your buds, protecting them from mold, mildew, and pests for safe, long-term storage. Curing, on the other hand, helps your buds retain the terpenes that give them their signature aroma and flavor. A slow cure will also help break down the chlorophyll in the buds, which is the cause of the harshness in the lungs when smoked.
Both drying and curing involve removing the moisture from your plant. But while most drying methods remove moisture as quickly as possible, curing seeks to slowly remove moisture instead. So, your goal is to dry the hemp as slowly as possible in an environment that will not invite mold and mildew during the process. The ideal climate to dry and cure is between 60−70° Fahrenheit with a relative humidity level of 45−55%.
There are two ways to dry your buds: upside-down hanging and rack drying. The method you use will depend on whether you keep your buds on their stems. You would want to hang your plant stems upside down if you harvested the entire plant at once or stem by stem. This method will take longer to dry than rack drying, since the stems provide some moisture to your buds, but is also the simpler of the two. If you have loose buds, however, using a drying rack is the ideal method, as they will dry faster individually. To achieve a uniform appearance across all your buds, you will need to roll them around every day or two; otherwise, one side of the buds will be flat.
Your buds’ odor will intensify as it dries so if you want to mitigate it, dry your buds inside your grow tent. Turn your grow light off and turn on your inline fan with carbon filter to trap the odor. Keeping your clip-on fan running at 10% speed will create enough air movement to deter mold and mildew. Make sure to keep the light breeze away from your buds so they do not dry too fast.
It generally takes 5−10 days for buds to be ready for storage, but the time it takes to dry will depend on a few factors: whether or not you trimmed the buds before drying, the humidity is lower than normal, and if the temperature is higher than normal. A couple of ways to tell if the buds are ready is if the buds feel dry to the touch and if the smaller stems connected to the buds make a snapping noise when bent.

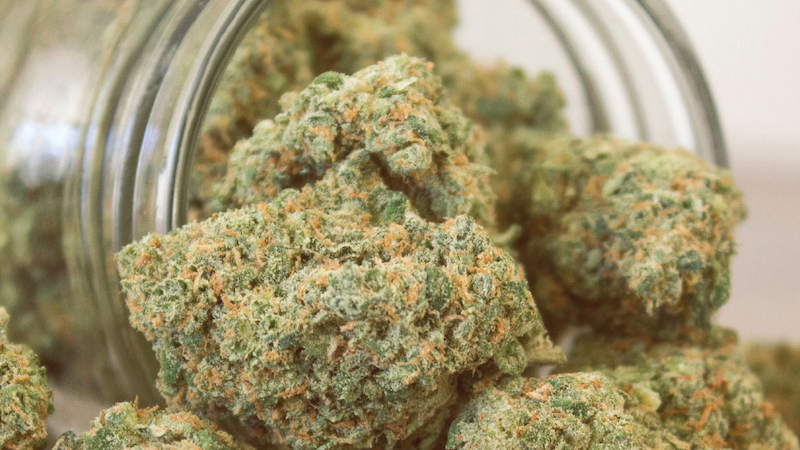
Once the buds are dry, store them in airtight containers like mason jars to cure them. Mason jars are considered the ideal containers because they can preserve the buds and prevent their trichomes from sticking onto the glass. A 16-oz mason jar can hold up to an ounce of hemp, depending on the density of the buds. If you have more than an ounce, you will want to use a 32-oz mason jar or larger.
Loosely fill your jar with the dried buds at up to 75% of its capacity so the buds are not compacted. Place a wireless hygrometer in the jar so you can check on the relative humidity, making sure it stays under 65%. If the relative humidity is over this threshold, take your buds out and continue drying them until it falls below 65% before trying again. Finally, put on the lid to start the curing process.
Since most of the moisture has been removed at this point, the drying process will be slow. Your buds will still cure over time if you refresh the air once a day by opening the jar for a few minutes. Repeat this process for at least 2 weeks to maximize your buds’ smoothness and flavor. This also ensures that enough moisture has been removed so they can be stored long-term without molding. You may continue opening your jar after the 2-week period to continue the curing process and achieve the highest quality cure. However, once the buds have started the curing, they should be ready for consumption anytime.


